Creating icons in Xcode playgrounds
15 May 2022
I'm no good at drawing. I have Affinity Designer and I like it well enough, but it requires more expertise than I have, really. Usually when I want to draw things, I prefer to retreat back to code.
Xcode playgrounds are pretty OK for writing your graphics code. Select your drawing technology of choice to create an image, create a view that displays it, make it the live view with PlaygroundPage.current.setLiveView and you're done. Well, almost. How do you get the image out of there?
Say you're creating icons for an iOS project. You want a bunch of variously sized versions of the same icon (I'm assuming here you aren't finessing the different versions too much, or otherwise you wouldn't be reading a tutorial on how to generate images in code), and you want to get them into an asset catalog in Xcode. Xcode's asset catalog editor can accept dragged files, so that seems like a something we could try enable.
SwiftUI makes it really easy.
Start with a function that draws the icon into a CGImage. This one just draws a purplish rectangle. It won't win any ADAs, but it'll serve for this tutorial:
func makeImage(size: CGSize) -> CGImage {
    let ctx = CGContext(
        data: nil,
        width: Int(size.width),
        height: Int(size.height),
        bitsPerComponent: 8,
        bytesPerRow: 0,
        space: CGColorSpaceCreateDeviceRGB(),
        bitmapInfo: CGImageAlphaInfo.premultipliedLast.rawValue
    )!
    let rect = CGRect(origin: .zero, size: size)
    ctx.setFillColor(red: 0.9, green: 0.4, blue: 0.6, alpha: 1.0)
    ctx.fill(rect)
    let image = ctx.makeImage()!
    return image
}
Next define a bunch of values for the icon sizes that Xcode likes. As of Xcode 13 and iOS 15, something like this is a good representation of what you need:
enum IconSize: CGFloat {
    case phoneNotification = 20.0
    case phoneSettings = 29.0
    case phoneSpotlight = 40.0
    case phoneApp = 60.0
    case padApp = 76.0
    case padProApp = 83.5
}

extension IconSize: CustomStringConvertible {
    var description: String {
        switch self {
        case .phoneNotification: return "iPhone/iPad Notification (\(self.rawValue))"
        case .phoneSettings: return "iPhone/iPad Settings (\(self.rawValue))"
        case .phoneSpotlight: return "iPhone/iPad Spotlight (\(self.rawValue))"
        case .phoneApp: return "iPhone App (\(self.rawValue))"
        case .padApp: return "iPad App (\(self.rawValue))"
        case .padProApp: return "iPad Pro App (\(self.rawValue))"
        }
    }
}
Then define a struct that holds one extra bit of information: the scale we're working at.
struct IconVariant {
    let size: IconSize
    let scale: CGFloat

    var scaledSize: CGSize {
        let scaled = self.scale * self.size.rawValue
        return CGSize(width: scaled, height: scaled)
    }
}

extension IconVariant: CustomStringConvertible {
    var description: String { "\(self.size) @ \(self.scale)x" }
}

extension IconVariant: Identifiable {
    var id: String { self.description }
}
The descriptions are useful for you, the human; the Identifiable conformance will be helpful when you set up a SwiftUI view showing the variants.
Next define all the variants you want:
let icons: [IconVariant] = [
    IconVariant(size: .phoneNotification, scale: 2),
    IconVariant(size: .phoneNotification, scale: 3),
    IconVariant(size: .phoneSettings, scale: 2),
    IconVariant(size: .phoneSettings, scale: 3),
    IconVariant(size: .phoneSpotlight, scale: 2),
    IconVariant(size: .phoneSpotlight, scale: 3),
    IconVariant(size: .phoneApp, scale: 2),
    IconVariant(size: .phoneApp, scale: 3),
    IconVariant(size: .phoneNotification, scale: 1),
    IconVariant(size: .phoneSettings, scale: 1),
    IconVariant(size: .phoneSpotlight, scale: 1),
    IconVariant(size: .padApp, scale: 1),
    IconVariant(size: .padApp, scale: 2),
    IconVariant(size: .padProApp, scale: 2),
]
Then let's start work on getting those variants on screen. We'll use a simple SwiftUI view with stacks for it; it won't be pretty, but it'll do what's needed.
struct IconView: View {
    var body: some View {
        VStack {
            ForEach(icons) { icon in
                HStack {
                    let cgImage = makeImage(size: icon.scaledSize)
                    Text(String(describing: icon))
                    Image(cgImage, scale: 1.0, label: Text(String(describing: icon)))
                }
            }
        }
    }
}

PlaygroundPage.current.setLiveView(IconView())
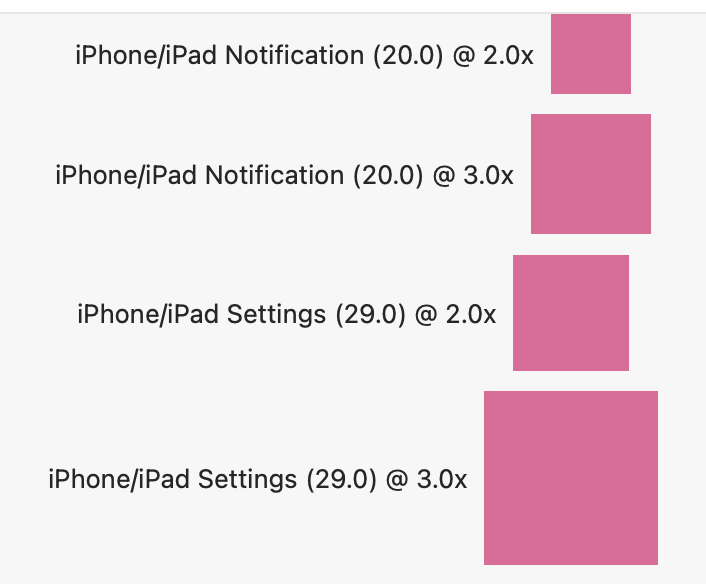
As promised, functionality over form:
Now we need just the glue to enable dragging. Add a CGImage extension that makes it easier to export the image as PNG data:
extension CGImage {
    var png: Data? {
        guard let mutableData = CFDataCreateMutable(nil, 0),
              let destination = CGImageDestinationCreateWithData(mutableData, "public.png" as CFString, 1, nil)
        else { return nil }
        CGImageDestinationAddImage(destination, self, nil)
        guard CGImageDestinationFinalize(destination) else { return nil }
        return mutableData as Data
    }
}
To make the images in the view draggable, you'll need to use the onDrag view modifier. It requires a function that returns a NSItemProvider. The nicest way to create one is probably with a custom class that conforms to NSItemProviderWriting. Something like this:
final class IconProvider: NSObject, NSItemProviderWriting {
    struct UnrecognizedTypeIdentifierError: Error {
        let identifier: String
    }

    let image: CGImage

    init(image: CGImage) {
        self.image = image
    }

    func loadData(
        withTypeIdentifier typeIdentifier: String,
        forItemProviderCompletionHandler completionHandler: @escaping (Data?, Error?) -> Void
    ) -> Progress? {
        guard typeIdentifier == "public.png" else {
            completionHandler(nil, UnrecognizedTypeIdentifierError(identifier: typeIdentifier))
            return nil
        }
        completionHandler(self.image.png, nil)
        // Progress: all done in one step.
        let progress = Progress(parent: nil)
        progress.totalUnitCount = 1
        progress.completedUnitCount = 1
        return progress
    }

    static var writableTypeIdentifiersForItemProvider: [String] {
        ["public.png"]
    }
}
And then the last thing needed is the onDrag handler. Add it to the Image line in the IconView you created earlier.
Image(cgImage, scale: 1.0, label: Text(String(describing: icon)))
    .onDrag {
        NSItemProvider(object: IconProvider(image: cgImage))
    }
Refresh the playground preview and the images are waiting for you to drag them into the asset catalog.